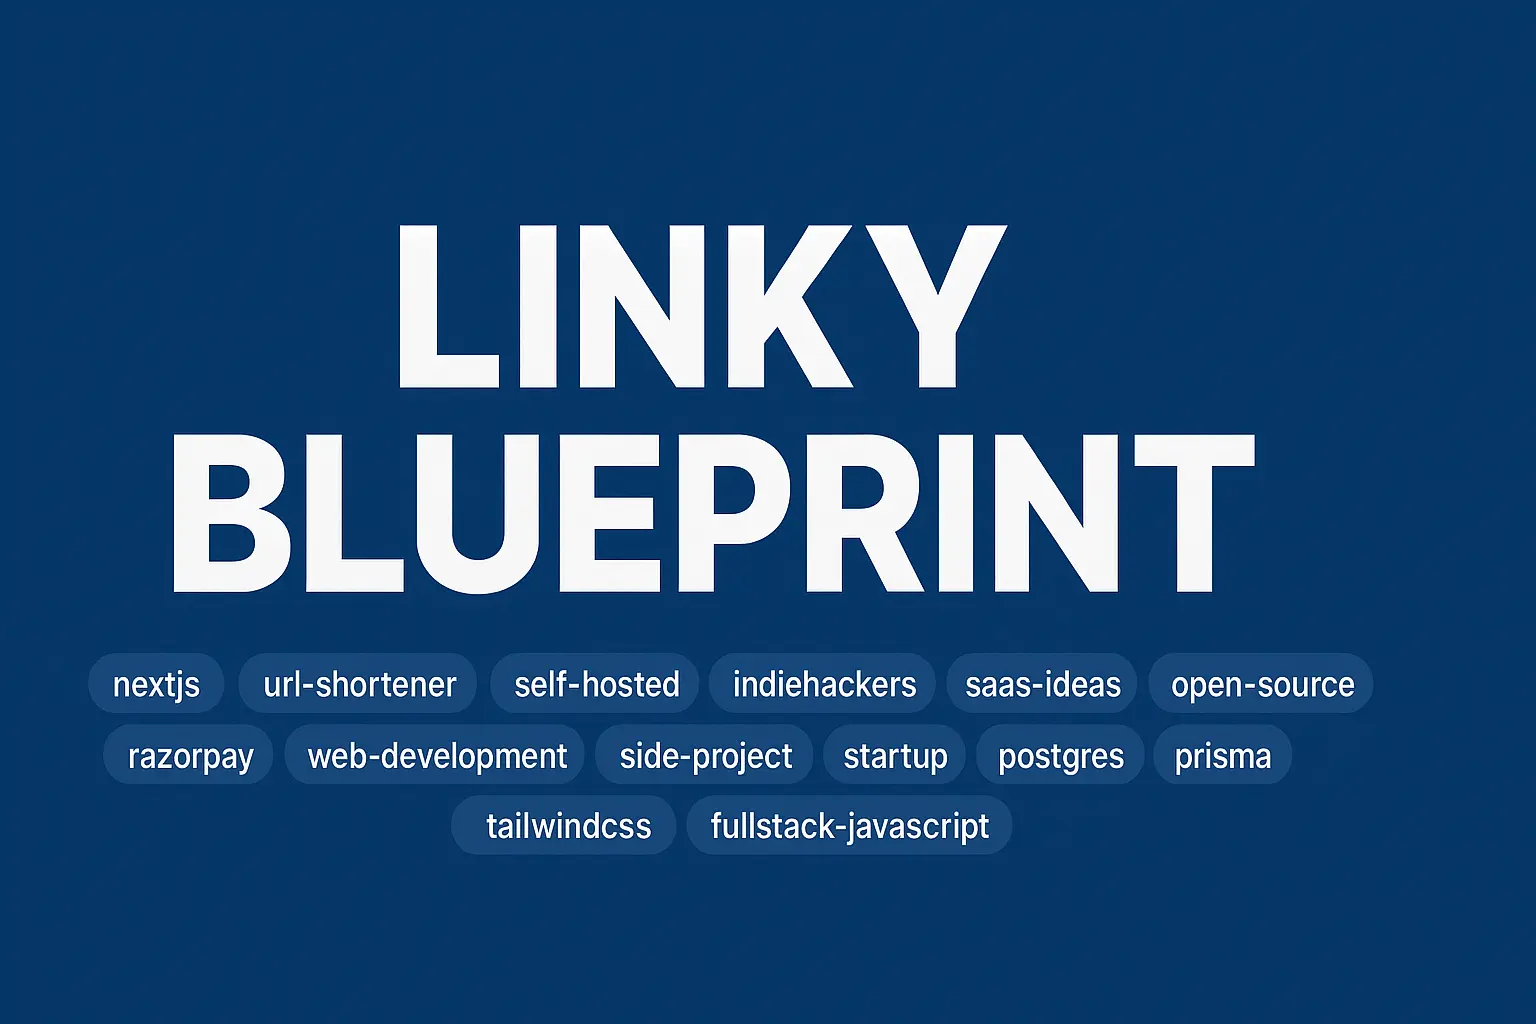
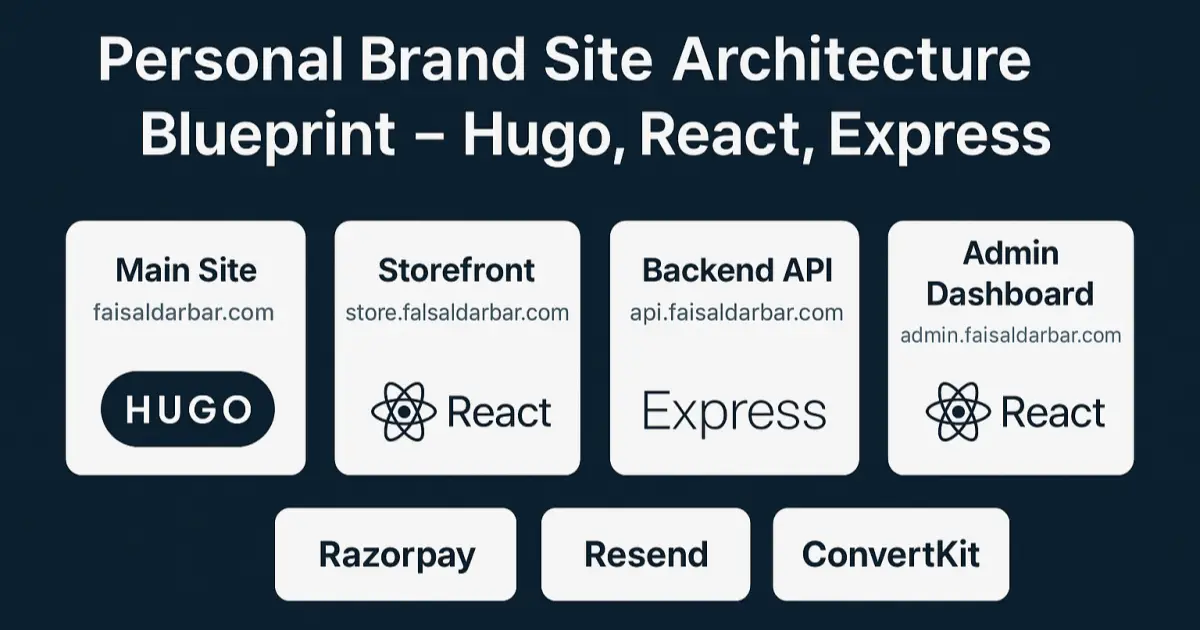
Linky Blueprint

Linky Blueprint

Deploying at: linky.faisaldarbar.com πŸ”Ή Project Goals Build a fully working, self-hosted link shortener Track click data: timestamps, referrer, location (IP-based) Clean and privacy-conscious (no creepy tracking) Add optional monetization via Razorpay (phase 2) Learn and apply Next.js, API routes, database, SSR 🧱 Stack Layer Tech Frontend Next.js (App Router), Tailwind CSS Backend Next.js API Routes, Node.js, Razorpay SDK (optional) Database SQLite for dev β†’ Postgres (self-hosted) Auth (admin) Clerk or magic links / basic auth Hosting Self-hosted on Proxmox/Hetzner/VPS Domain linky.faisaldarbar.com πŸ—‚ App Structure /linky β”œβ”€β”€ pages (or app/ if using App Router) β”‚ β”œβ”€β”€ index.tsx (create + view links) β”‚ β”œβ”€β”€ [shortcode].tsx (redirect handler) β”œβ”€β”€ /api β”‚ β”œβ”€β”€ create.ts (generate short link) β”‚ β”œβ”€β”€ track.ts (log analytics) β”‚ └── verify-payment.ts (Razorpay, optional) β”œβ”€β”€ lib/ β”‚ β”œβ”€β”€ db.ts (Prisma or raw DB queries) β”‚ └── utils.ts (random slug, etc.) β”œβ”€β”€ prisma/ β”‚ └── schema.prisma β”œβ”€β”€ .env β”œβ”€β”€ next.config.js 🎯 Core Features (MVP) πŸ”— Shorten long URLs to custom slugs πŸ“Š Basic analytics (total clicks, referrer, timestamp) πŸ“ Optional geolocation via IP (no cookies) ⏰ Set expiration or limit on number of uses (optional) πŸ§‘β€πŸ’» Admin-only dashboard to view/manage links πŸ”’ Auth (magic link or simple passcode for MVP) πŸš€ Phase 2 – Monetized Links (Optional) πŸ’Έ Razorpay integration: create link β†’ pay β†’ unlock redirect πŸ” API verifies payment β†’ returns actual destination 🧾 Email or page shows receipt/confirmation πŸ“ˆ Phase 3 – Advanced Analytics View individual link performance: CTR, traffic sources Dashboard charts (Recharts, Chart.js) Export CSV πŸ›‘οΈ Security & Deployment Use Helmet.js for backend security headers Rate-limiting on API routes Logging with Pino or Winston Environment variables via dotenv GitHub Actions for CI/CD πŸ’‘ Future Ideas Team/multi-user support Custom domain per user Link folders / categories Tag links by campaign (UTM builder) Razorpay payout dashboard (for creators earning through links) Invite system for early access πŸ“ Initial Hosting Plan Self-hosted on your Ubuntu server via Proxmox Reverse proxy via Nginx + SSL Subdomain: linky.faisaldarbar.com SQLite for now β†’ PostgreSQL later (local) βœ… Next Steps Initialize Next.js app with TailwindCSS Set up DB schema using Prisma (with SQLite first) Build URL shortening form (slug input + long URL input) Create API route to store short URL and long URL Build redirect route handler (e.g., /[slug] β†’ redirect) Add click tracking (store timestamp, referrer, IP) Create simple admin dashboard (protected route) Add basic auth (env password or magic link) Deploy to VPS and point subdomain Monitor logs + errors Let’s build it! ...

July 30, 2025 Β· 2 min Β· Faisal Darbar
Personal Brand Site Architecture Blueprint

Personal Brand Site Architecture Blueprint

This post is meant to be my development guide. 🌐 Main Site – faisaldarbar.com Stack: Hugo + Giscus + GitHub Pages Static content: blog, about, contact SEO-optimized and fast Newsletter via ConvertKit Comments via Giscus Hosted on GitHub Pages βœ… Done and live πŸ›οΈ Storefront – store.faisaldarbar.com Stack: React + TailwindCSS + Vite Static SPA for digital/physical products Product catalog and detail pages Razorpay Buy Now integration (guest checkout) Inventory indicators (in stock, low stock, out of stock) Tokenized download links for digital products Hosted via GitHub Pages or Netlify (free tier with caution) πŸ”§ Backend API – api.faisaldarbar.com Stack: Node.js + Express + Prisma + PostgreSQL (self-hosted) ...

July 30, 2025 Β· 3 min Β· Faisal Darbar
First Vercel Project Setup Journey

First Vercel Project Setup Journey

βœ… Step 1: Signed Up on Vercel Visited vercel.com Signed up using GitHub Granted Vercel permission to access all repositories (default option) Vercel automatically fetched all repos under the GitHub account βœ… Step 2: Selected a Template On Vercel’s dashboard, chose the β€œNext.js SaaS Starter” template. It auto-filled the project name: next-js-saas-starter Clicked β€œCreate” to proceed with the setup βœ… Step 3: Chose a Database Vercel prompted to add a data store (PostgreSQL): ...

July 25, 2025 Β· 3 min Β· Faisal Darbar
Contact Form Setup with Cloudflare Workers

Contact Form Setup with Cloudflare Workers

A contact form with: βœ… Cloudflare Workers (as serverless backend) βœ… Google reCAPTCHA v3 (invisible, automated bot detection) βœ… Brevo (Sendinblue) for transactional email βœ… Honeypot field (for extra spam protection) βœ… Secrets management via Wrangler CLI βœ… Works with any frontend (e.g., Hugo, React, plain HTML) 🧰 1. Install Wrangler CLI npm install -g wrangler wrangler --version # Confirm it's installed πŸ—οΈ 2. Scaffold the Worker mkdir contact-worker && cd contact-worker wrangler init --no-git --type javascript βœ… This creates: ...

July 24, 2025 Β· 4 min Β· Faisal Darbar
Hugo Site Setup using Up Business Theme

Hugo Site Setup using Up Business Theme

βœ… Prerequisites Make sure you have the following installed: Hugo (extended version) Always update your packages before an install. sudo apt update Download and install the extended version of Hugo wget https://github.com/gohugoio/hugo/releases/download/v0.147.9/hugo_extended_0.147.9_linux-amd64.deb sudo apt install ./hugo_extended_0.147.9_linux-amd64.deb Git sudo apt update sudo apt install git Configure Git: git config --global user.name "Your Name" git config --global user.email "your@example.com" Node.js and npm Instead of using apt, which installs outdated versions, use NodeSource to install the current LTS version (more stable for dev work): ...

July 20, 2025 Β· 5 min Β· Faisal Darbar
Hugo Site Setup using PaperModest Theme

Hugo Site Setup using PaperModest Theme

🌱 Introduction: The Journey So Far This project started with me setting up a Hugo blog using the PaperMod theme, developed on a Linux environment and deployed via Cloudflare Pages. I then moved to WSL (Windows Subsystem for Linux) for better flexibility but ran into high I/O issues with VS Code when working across the Windows (/mnt/c/) and WSL filesystems. To resolve this, I moved all project files fully into the WSL-native Linux filesystem. ...

July 8, 2025 Β· 5 min Β· Faisal Darbar
GitHub Pages Deploy Fix after v3 Deprecation

GitHub Pages Deploy Fix after v3 Deprecation

I recently fixed my GitHub Pages workflow for the Chirpy Jekyll Theme after encountering a build failure. This issue was caused by the deprecation of actions/upload-artifact v3, which GitHub announced w.e.f. January 30, 2025. 1. Updated Action Versions To stay up to date, I updated my actions to the latest versions: actions/checkout@v4 actions/configure-pages@v4 actions/upload-pages-artifact@v3 2. Fixed htmlproofer Command The htmlproofer command needed an update due to the removal of the --ignore-urls option. Here’s the fixed command: ...

January 30, 2025 Β· 2 min Β· Faisal Darbar
CS50 Libraries in VS Code

CS50 Libraries in VS Code

Setting up a C development environment on Linux with essential tools like VS Code, GCC, C/C++ extension, and Code Runner extension is crucial for effective programming. This guide focuses on seamlessly incorporating the CS50 libraries into VS Code to enhance your C programming experience. (Works on Debian 12) Step-by-Step Guide: Prerequisites: Ensure you have VS Code, GCC, the C/C++ extension, and Code Runner extension installed on your Linux system. Download the cs50.h and cs50.c libraries from the official CS50 repository. Open Your C Project in VS Code: Create a new folder or open an existing C project folder in VS Code. Include cs50.h and cs50.c Libraries in Your Project: Copy both the downloaded cs50.h and cs50.c files into your project folder. Edit Configuration UI for C/C++: Press Ctrl+Shift+P to open the Command Palette. Type β€œC/C++ edit configuration UI” and select it. Scroll down to β€œInclude Path” and add the path to your cs50.h library. Modify Code Runner Executor Map: Click on the gear icon in the lower-left corner of VS Code to access settings. Search for β€œcode runner executor map” and select β€œEdit in settings.json”. Add or modify the "c" command in the settings.json file to include the path to your cs50.h and cs50.c files: "c": "gcc -I/path/to/your/project -L/path/to/your/project /path/to/your/project/cs50.c $fileName -o $fileNameWithoutExt && $dir$fileNameWithoutExt", Replace /path/to/your/project with the actual path to your project folder. Write and Run Your C Code: Write your C code, including the #include "cs50.h" statement. Use Code Runner to execute the code (click the play button in the top right corner). Note: Ensure both cs50.h and cs50.c libraries are placed in the same location within your project folder for successful compilation and execution. ...

December 21, 2023 Β· 2 min Β· Faisal Darbar